Free Fire Gloo Wall Pro Guide: Fast Placement Tricks To Win Every Fight
April 21, 2026
10 min read
Why Gloo Wall Decides Your Wins
A perfect headshot is useless if your Gloo Wall is slow. That one sentence sums up ranked Free Fire in 2026.
The Gloo Wall is not just a piece of cover. It is the single mechanic that separates players who survive to the final circle from those who get eliminated in the first fight. The current ranked meta rewards fast and precise wall placement more than ever.
By the end of this guide, you will place walls faster than most players, build the triangle bunker in under three seconds, and turn any 1v3 situation into a Booyah.
Compete on ZP Battle Zone
Apply what you just learned
Join 35,000+ Pakistani players competing in live Free Fire tournaments every week. Verified results, fair play, organized competition.
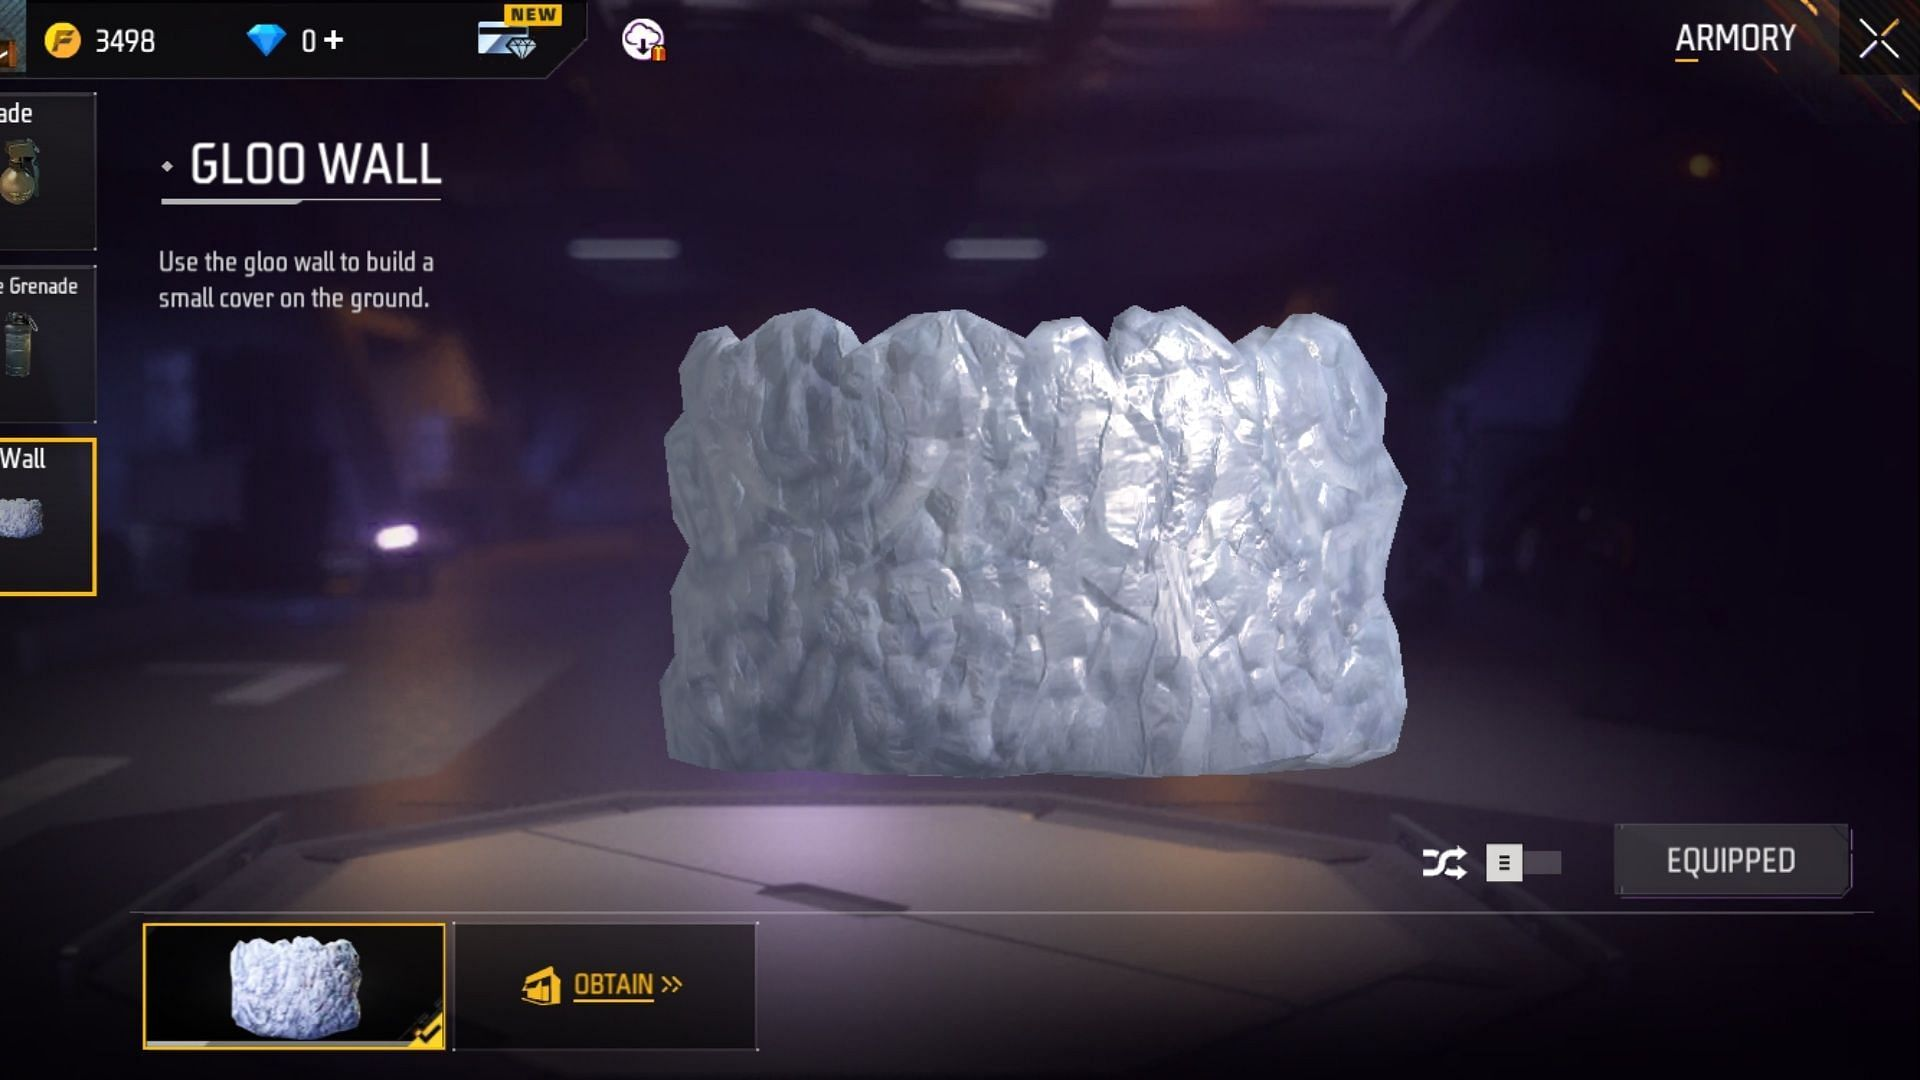
A Gloo Wall grenade is a throwable item that instantly creates a solid wall of ice upon impact with any surface. Each wall blocks bullets and line of sight from enemies. You can carry up to three Gloo Wall grenades at a time.
Once deployed, the wall has a set durability and will break if enough damage is applied to it. High-tier players stack two to three walls together to offset this weakness, especially during final ring fights where cover is scarce.
The walls are not static defensive tools. They can be used for offense, movement, healing, reviving teammates, or forcing enemies into predictable angles. Mastering all these uses is what makes a player dangerous.
Setup and Controls: The Fast Wall Foundation
Button Layout
The first thing you need to do is resize your Gloo Wall button and move it close to your left-thumb movement zone. If your Gloo Wall button is far away from your movement controls, your reaction time suffers. Every millisecond counts in a close-range fight.
Turn off Smart Throw. Smart Throw slows down your placement and removes your control over exactly where the wall lands. Manual aim is always faster once you have the muscle memory for it.
Finger Setup Per Playstyle
If you play 2-finger, place the Gloo Wall button on the bottom-left area of your screen so your left thumb can tap it without losing movement control. For 3-finger and 4-finger setups, dedicate one of your right-side fingers specifically to the Gloo Wall so your aim hand never needs to leave the fire or scope buttons.
Spend at least 15 to 20 minutes in the Training Island or custom rooms with unlimited Gloo Walls to lock this button layout into your muscle memory before taking it into ranked play.
Gloo Wall Speed: The 1-Second Rule to Win Fights
Whoever drops the wall first almost always wins the exchange. This is not an opinion. It is a consistent pattern in every ranked lobby. If your enemy places their wall before you, they dictate the fight.
The goal is to pre-aim your placement. Before you tap the Gloo Wall button, your crosshair or placement indicator should already be pointing at the exact spot where the wall needs to go. You tap and it appears instantly, with no adjustment delay.
Key Speed Combos
Slide into a wall: Sprint, slide, and drop the wall behind you in a single motion. This cuts off chasers mid-rush and leaves you safely repositioned.
Jump and wall: Jump over a wall, drop a new one behind you as you land. This disrupts the enemy's aim and gives you a repositioning window.
Crouch and wall: The sit-up method. Crouch at the exact moment you drop the wall. This places the wall closer to your body, removing gaps that enemies can shoot through, and it protects your head better than standing placement.
Common Mistakes That Slow You Down
Panicking in a gunfight and tapping the button multiple times without aiming first wastes your grenades. Wrong hand position, meaning your Gloo Wall button is too far from your movement thumb, adds a delay you can feel. Over-crouching before the wall is placed creates a brief vulnerable window. Fix these three habits and your speed improves within a week.
The Triangle Defense: Your 3-Wall Bunker
The triangle is the most powerful Gloo Wall formation in ranked play. Three walls placed correctly give you 360-degree cover, buying time to heal, reload, revive a teammate, or assess the fight.
How to Build It
Place the first wall directly in front of you to block incoming fire. Rotate quickly and place the second wall behind you. Drop the third wall to your side to close off the triangle. Done correctly, this takes two to three seconds.
Tight triangle versus wide triangle: A tight triangle keeps you fully enclosed, which is ideal for healing or reviving. A wide triangle gives you movement space and peeking angles, which is better for sustained fights. Practice both.
When to Use It
Use the triangle in the final circle when cover is gone. Use it the moment you start a revive on a downed teammate. Use it whenever you are caught in a crossfire from two directions at once. Use it in third-party situations where enemies are closing in from multiple angles.
Gloo Wall Combos with Movement and Peeking
Walls are not just for hiding. They are tools for controlling where and when you engage the enemy.
Peek, Wall, Peek
Peek out, take a shot, drop a wall at an angle, then peek out from the other side of it. This lateral peeking technique makes it hard for enemies to predict where your next shot is coming from. Leave a small gap intentionally to shoot through while your body remains protected.
Opposite Wall and Direction Walls
Pro players use the V-shape or U-shape placement, inspired by how top competitive players like Two9 operate. Instead of a single straight wall, you place two walls in a V formation. This creates multiple peek angles and forces the enemy to guess which side you will exit from, giving you a significant read advantage.
Front-run wall means dropping a wall ahead of you as you sprint forward, cutting off sightlines proactively. Back-run wall means placing one behind you while retreating to stop chasers cold. Both of these are under two seconds to execute once you have the muscle memory.
Gloo Wall in Ranked: Ring Edge, Rush Defense, and 1v3
Ring Edge Fights
When the ring forces you into an open corner, place one wall to block the most dangerous sightline and a second wall perpendicular to it. This creates an L-shaped cover. Only upgrade to the full triangle if two or more squads are engaging you at the same time.
Rush Defense
When enemies rush you, the instinct is to place walls immediately. But the better decision depends on the distance. If the enemy is still far, hold your grenade and reposition instead. If they are close, drop the wall instantly between you and them. Walls placed too early can actually help the rusher by giving them cover.
1 v 3 and 2 v 4 Situations
In a 1 v 3, your first wall buys you time to understand where all three threats are positioned. Your second wall should cut off the most aggressive pusher. Only commit your third wall when you are inside a full triangle and have a clear plan to either heal or push one target. If your walls are gone and the situation is still dangerous, bail immediately rather than getting caught in the open.
Character and Pet Synergy with Gloo Wall
Best Characters
Skyler is the most powerful character to pair with a wall-heavy playstyle. His Riptide Rhythm skill destroys up to five enemy walls at once and regenerates HP every time you deploy your own. At max level, this creates a cycle where constant wall usage keeps you topped up on health. This character is a wall warrior in every sense.
Oscar is another strong option. He increases your movement speed, destroys enemy walls, and deals damage to enemies hiding behind them. Three abilities in one, which makes him an excellent aggressive counter to wall-camping opponents.
Best Pets
Mr. Waggor is the go-to pet for wall-heavy players. His Smooth Gloo ability automatically generates a Gloo Wall grenade every 100 seconds when you are carrying fewer than two. In ranked Battle Royale and Clash Squad, this keeps you stocked during the most critical moments when you have burned through your supply.
Robo is the secondary option. Robo adds a shield around your Gloo Walls when they are deployed, increasing their durability and making them harder to break. Pair Robo with Skyler for a full wall-focused build that is both offensive and defensive at the same time.
Gloo Maker vs Regular Gloo Wall: When to Use Which
Regular Gloo Walls are grenades you throw manually. You have full control over placement and timing. They are best for planned fights where you need precise positioning quickly.
The Gloo Maker is a passive progression system in Battle Royale that generates wall grenades over time. It levels up through play and through Mr. Waggor's pet ability. As it levels up, it generates walls more frequently, giving you a consistent supply during long games.
The practical split is straightforward. In early and mid-game, conserve your manual grenades and let the Gloo Maker supply you. In the final circle, use your manual grenades for big fights where placement accuracy matters most.
Common Gloo Wall Mistakes That Cost Games
Placement Errors
Placing the wall too far from your body leaves a gap that enemies can shoot through. Always drop the wall close to yourself. Not accounting for elevation is another common issue. On sloped terrain, a wall placed without adjusting for the angle can leave your feet or head exposed. Check the surface before committing.
Resource Errors
Using all three walls in the first mid-game fight leaves you defenseless in the final circle. Treat your Gloo Walls like medkits. You do not use every medkit the moment you take damage. Same logic applies here.
Deploying walls against threats that do not actually require them is a habit you need to break. If an enemy is at long range and you have good natural cover, there is no need to spend a grenade. Save it for the fight that truly demands it.
Pro-Level Practice Routine (5 to 10 Minutes Daily)
Open a custom room with unlimited Gloo Walls. Set a timer for 30 seconds and count how many full triangles you can build in that time. Do this at the start of each session. Track your number and try to beat it each day. Within one week you will notice a significant improvement in speed.
Spend five minutes using only close-range engagement with a single Gloo Wall rule per fight. No triangle, just one wall per enemy. This trains you to make precise placement decisions under pressure rather than defaulting to the full bunker every time.
After two weeks of this daily drill, your ranked reflexes will have adapted. The triangle will happen automatically without you having to think about it. That is when you know the mechanics are in your muscle memory.
Final Checklist: How to Win Every Fight with Gloo Wall
Here is everything you need to run before your next ranked session.
▸Gloo Wall button resized and placed near your movement thumb. Smart Throw is off.
▸You are playing 3-finger or 4-finger with a dedicated wall button.
▸You pre-aim your placement before tapping, not after.
▸The sit-up method is in your muscle memory for close-range fights.
▸You can build a tight triangle in under three seconds.
▸You are running Skyler or Oscar with Mr. Waggor as your pet.
▸You conserve walls in the early game and commit them in the final circle.
▸You practice the 30-second triangle drill at the start of each session.
Run this checklist for seven days. Then open your ranked stats and compare your survival rate and Booyah count. The Gloo Wall is not a support mechanic. It is a weapon. Treat it that way.