Free Fire Cover and Bunker Strategy That Actually Works: 2026 Pro Guide
April 16, 2026
11 min read
Most Free Fire players lose fights they should win because of where they stand, not how well they aim. Standing in the open against a player in cover is not a fair fight, it is a one-sided elimination waiting to happen.
Cover and bunker strategy is what separates players who survive into the final circle from those who die mid-rotation. This guide covers every type of cover, how to use each one correctly, map-specific bunker spots, advanced techniques, and the mistakes that get players killed every match.
Cover Is Not Just Hiding. It Is Controlling the Fight.
Most players think cover means staying safe. That is only half of it. Good cover does two things simultaneously: it protects you from incoming damage, and it forces the enemy into a worse position than yours.
Compete on ZP Battle Zone
Apply what you just learned
Join 35,000+ Pakistani players competing in live Free Fire tournaments every week. Verified results, fair play, organized competition.
When you use cover correctly, you control what the enemy can see, where they must move, and when they take damage. A player behind a wall who chooses when to peek has far more control over the outcome of a fight than a player standing in the open trying to out-aim them.
The goal is not to stay behind cover indefinitely. The goal is to use cover to take fights on your terms at the angle you choose, at the moment you decide. Every piece of cover on the map is a tool for creating that advantage.
The Three Types of Cover and When to Use Each
Natural cover: trees, rocks, and terrain
Natural cover includes everything the map provides without player involvement rocks, trees, hillsides, cliff edges, and uneven terrain. It is always available and costs nothing to use.
The key to natural cover is low-profile movement. Crouch or go prone behind rocks and terrain to reduce your visible hitbox. From a low position behind a rock, you can peek with minimal exposure while an enemy standing upright presents a full-body target. Crawl peeking from behind desert rocks in Kalahari is one of the most effective headshot setups in the game precisely because of this height difference.
Natural cover works best for defensive holds and long-range engagements. Use it when you need to hold a position without spending resources, particularly during rotations when you want to pause and assess before moving forward.
Man-made cover: crates, walls, and buildings
Man-made cover includes anything built into the map factory crates, warehouse walls, building interiors, and compound structures. This type of cover offers more predictable angles than natural terrain and is ideal for setting up deliberate fights.
Buildings offer the most layered cover options. Interior walls break the line of sight, doorways create chokepoints you can pre-aim, and upper floors give you an elevation advantage over enemies approaching at ground level. Always take the highest available floor in any building you use as a hold position.
Crates and low walls work best in close-range fights where you need to move quickly between positions. Use them to break the enemy’s sightline after taking damage rather than sitting in one spot and trading shots from a disadvantaged position.
Gloo Walls: instant cover anywhere on the map
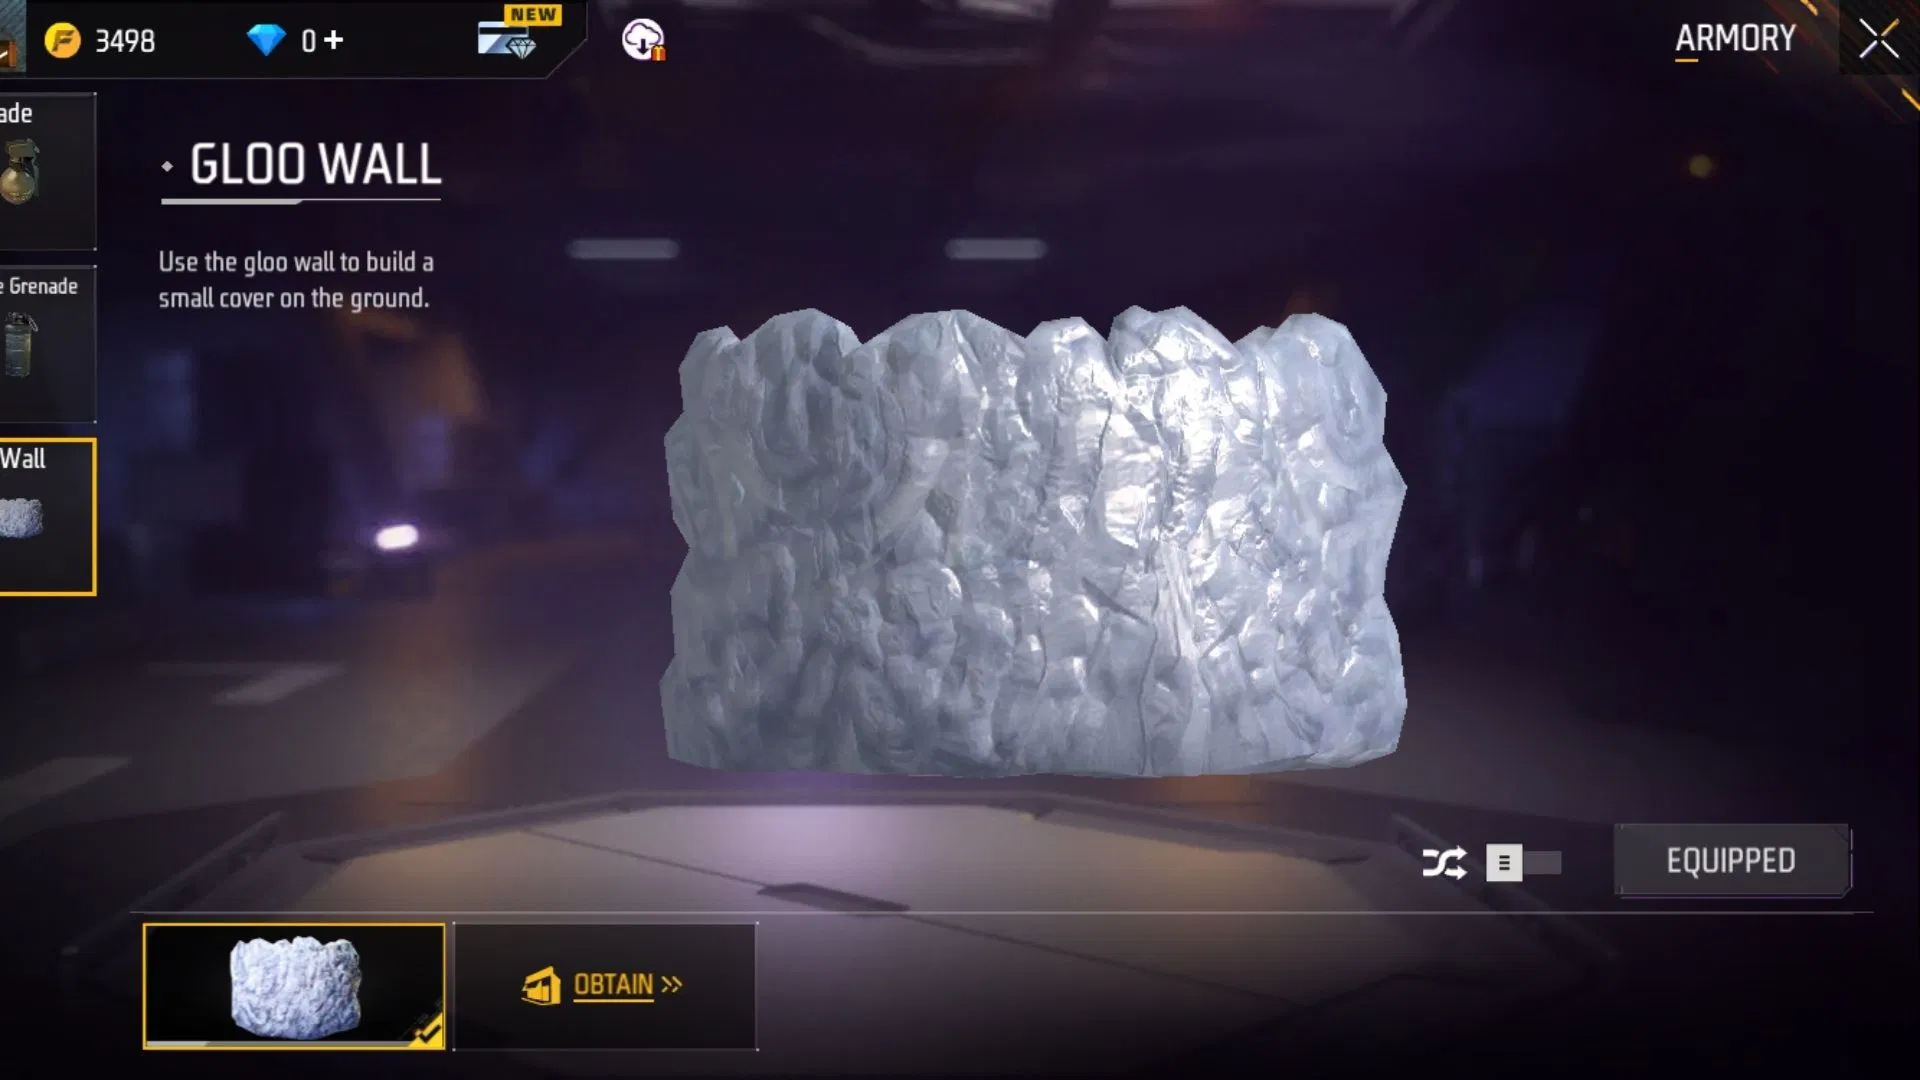
Gloo Walls are Free Fire’s most flexible cover tool because they create protection exactly where you need it, not just where the map places it. A well-placed Gloo Wall in an open field can completely change the outcome of a fight you would otherwise lose with no cover available.
The current meta has made fast Gloo Wall deployment a critical skill. Players who can deploy a Gloo Wall the instant they take damage and step behind it before a second shot lands survive engagements that would previously have been instant eliminations. Practice this in Training Mode until the deploy-and-step motion becomes automatic.
Gloo Walls are not permanent. Enemies can destroy them with sustained fire or grenades, so never treat a Gloo Wall as a final defensive position. Deploy it, heal behind it, identify the enemy’s location, and immediately decide your next move. Sitting behind a Gloo Wall and waiting surrenders the initiative.
How to Actually Use Cover in a Fight
ADS peek from the edge, not the center
The most common mistake players make with cover is standing too far into the open when they peek. Instead, activate ADS and peek from the very edge of your cover before fully exposing yourself. This gives you a narrow line of sight on the enemy while minimizing how much of your body is visible.
Peeking from the right side of your cover is generally more effective for right-handed ADS because your weapon aligns naturally with the right edge. Practice peeking from both sides so enemies cannot predict which edge you will appear from.
Force the enemy to peek, not the other way around.
The player who peeks loses more often than the player who holds. If you are behind solid cover and the enemy is in the open or behind weaker cover, hold your position and make them come to you. Every second they spend trying to close the distance is time they spend exposed.
Throw a grenade behind enemy cover before pushing. A grenade forces enemies to move or absorb damage either outcome benefits you. They either step into your sightline or arrive at the fight with reduced health.
Never return to the same cover position twice.
Smart enemies watch where you go and pre-aim that spot for your return. After using a piece of cover, rotate to a different position before the enemy can lock onto your location. This forces them to continuously re-acquire your position rather than holding a pre-aimed angle and waiting for you to peek into it.
Use a cover to manage third-party situations.
Third-party attacks are one of the most common causes of death in Free Fire. You finish a fight, you are low on health, and a fresh squad rushes you from a different direction. Cover is your primary defense against this.
Before committing to any fight, identify the nearest solid cover behind you. If a third party arrives, you have an immediate fallback position. Players who push fights without knowing their retreat option die to third parties far more often than those who plan their positioning in advance.
Map-by-Map Cover Guide
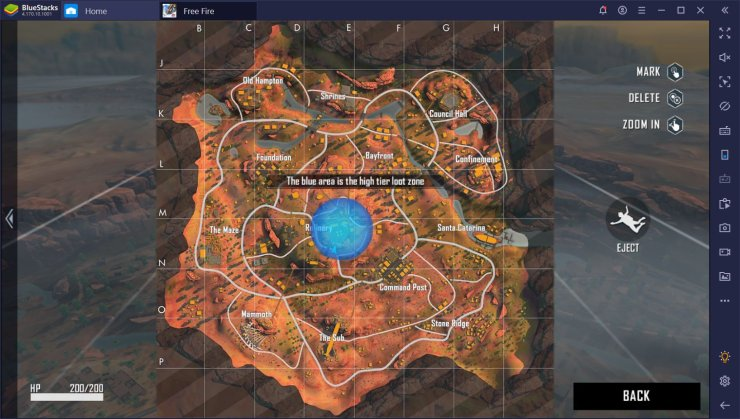
Each Free Fire map has its own cover landscape. Knowing the strongest positions before you land means you reach cover faster and hold better spots than players who figure it out mid-match.
Map
Best Cover Spots
How to Use Them
Bermuda
Clock Tower walls, Factory roof, Peak rocks
Secure high ground early, use walls for edge peeks, and force enemies into open ground
Kalahari
Desert rock clusters, canyon edges, ruins
Crawl peek from low rocks for headshot angles, use canyon walls to break line of sight during rotations
Purgatory
Factory crates, bridge pillars, warehouse walls
Place Gloo Walls behind crates to create traps, use bridge pillars to stop rushes and force close-range fights
Nexterra
Elevated platforms, container stacks, building corners
Stack Gloo Walls on container edges for layered cover, hold building corners to set up crossfire angles
High ground is a consistent advantage across every map. When two cover options are available, prioritize the one with elevation. A downward angle is harder to return fire against than a flat exchange between equally positioned players.
Advanced Cover Techniques That Change How You Play
Gloo Wall plus bunker combination
Placing a Gloo Wall in front of an existing bunker creates two layers of cover. The Gloo Wall absorbs the initial burst of enemy fire while you use the solid structure behind it as your actual defensive position. This is especially effective in final circles, where the shrinking zone forces players into confined spaces.
Place the Gloo Wall at a 45-degree angle to the bunker rather than directly in front of it. This creates a gap between the two that you can peek through while the enemy focuses fire on the Gloo Wall. By the time they destroy it, you will have already repositioned behind the solid bunker.
Jump peeking for close-range mobility.
In close-quarters fights inside buildings or between crates, jumping and peeking over low cover disrupts the enemy’s aim. Most players track targets horizontally. A sudden vertical movement breaks their tracking, and the brief moment of readjustment is enough to land a clean shot before they recover.
Jump peeking is a high-risk technique and should only be used when you are confident in your aim, and the cover is low enough to clear cleanly. Using it against a pre-aimed angle or at long range turns a fight you were winning into an elimination.
Weapon switch for recoil reset
After a sustained exchange, switching to a melee weapon and immediately switching back to your primary resets the weapon’s recoil pattern. This means your first shot on the next peek fires with full accuracy rather than continuing the recoil buildup from the previous burst.
This technique is particularly effective with high-recoil ARs late in a magazine. Use it every time you duck behind cover after an exchange to ensure your next peek opens with a clean, accurate shot.
Character Combinations That Support Cover Play
Your character abilities should reinforce your cover strategy. The right combination makes your holds stronger and your transitions between positions safer.
Alok, combined with Clu, is one of the strongest cover-hold combinations in the current meta. Alok’s healing aura keeps you healthy while holding a position without breaking cover to use medkits. Clu detects crouching enemies, giving you advance warning when someone is attempting a crawl peek before they acquire your angle.
D-Bee paired with Kelly suits aggressive cover transitions. D-Bee maintains movement accuracy while you shift between positions, and Kelly provides a speed burst to close the distance to the next piece of cover quickly. Players who move slowly between positions are far more vulnerable during transitions than those who cover the distance fast.
Mistakes That Get Players Killed Every Match
Peeking from the center of the cover instead of the edge. Full-body exposure on every peek gives the enemy a large target. Peek from the edge so only a fraction of your hitbox is visible.
Treating Gloo Walls as a permanent defensive position. Gloo Walls get destroyed. Always have a solid covered fallback and plan before you deploy one.
Holding the same position too long. Once enemies know your location, they will throw grenades, flank, or pre-aim your spot. Rotate between cover positions regularly to reset their information.
Peeking without checking the surrounding area first. Before committing to a peek at one enemy, scan for additional players in the area. Peeking at one target while a squad waits on your flank ends the fight immediately.
Using a cover that is too far from the enemy. Cover at extreme range protects you, but makes it nearly impossible to deal meaningful damage. Find cover that is close enough to fight from effectively, not just safe enough to hide behind.
How to Build This Into Your Daily Practice
Cover strategy only becomes automatic through consistent repetition. Spend ten minutes in Training Mode every session practicing Gloo Wall deployment speed. The goal is to deploy and step behind the wall in one fluid motion without thinking about the button sequence.
In custom rooms with friends, run structured drills where one player holds a bunker and the other practices different approach methods:
grenade first, flanking, jump peeking, and Gloo Wall pressure. Understanding how attackers approach your cover position makes you better at defending it and better at breaking it when roles are reversed.
Review your deaths after every ranked match. Free Fire shows you where each elimination occurred and what caused it. Deaths in open ground indicate you are not reaching cover quickly enough. Deaths from the side mean you are not checking flanks before committing to a peek. Two or three sessions of honest post-match review will change your habits faster than hours of unfocused play.
Position Better. Die Less. Win More.
Cover strategy is not passive. It is an active decision every time you move, engage, or rotate. The players who consistently reach the final circle are not necessarily the ones with the fastest aim ,they are the ones who never give enemies a clean shot without making them work for it.
Start with the fundamentals. Peek from the edge. Deploy a Gloo Wall the moment you take damage. Never hold the same position twice against a team that knows where you are. Build from there, and your survival rate will follow.
ZP Battle Zone covers Free Fire positioning updates, map changes, and meta strategy as the game evolves. Bookmark this guide and return whenever a new map or patch changes the cover landscape.
What is your go-to cover spot on your favourite map? Share it in the comments. The best tips in this community come from players who have tested them in real ranked matches.