Free Fire Bermuda Map Guide: Best Loot Spots & Survival Tips for Every Zone
May 3, 2026
9 min read
Bermuda is still the most balanced and popular map in Free Fire for both casual and ranked play. It is used in Battle Royale, Ranked, and Clash Squad. Every serious player needs to know it well.
Most players land in the same spots every match, take the same routes, and wonder why they keep getting eliminated before the final circle. This guide breaks down the best loot spots and survival tips for every zone so you can land smarter and win more Booyahs.
Bermuda Map Overview
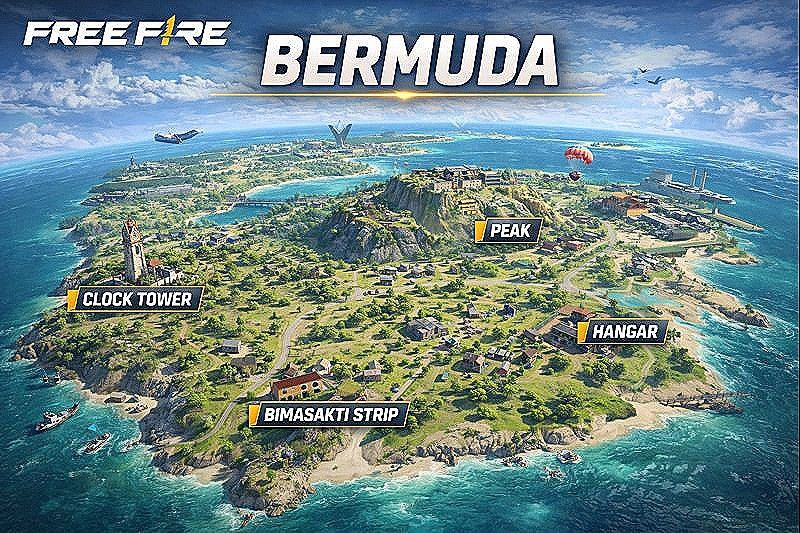
Bermuda is an 800 x 800 meter island with a mix of urban areas, open fields, hillsides, rivers, and coastal zones. It is a compact map, which means fights start fast. You will encounter enemies within the first minute in most matches.
Compete on ZP Battle Zone
Apply what you just learned
Join 35,000+ Pakistani players competing in live Free Fire tournaments every week. Verified results, fair play, organized competition.
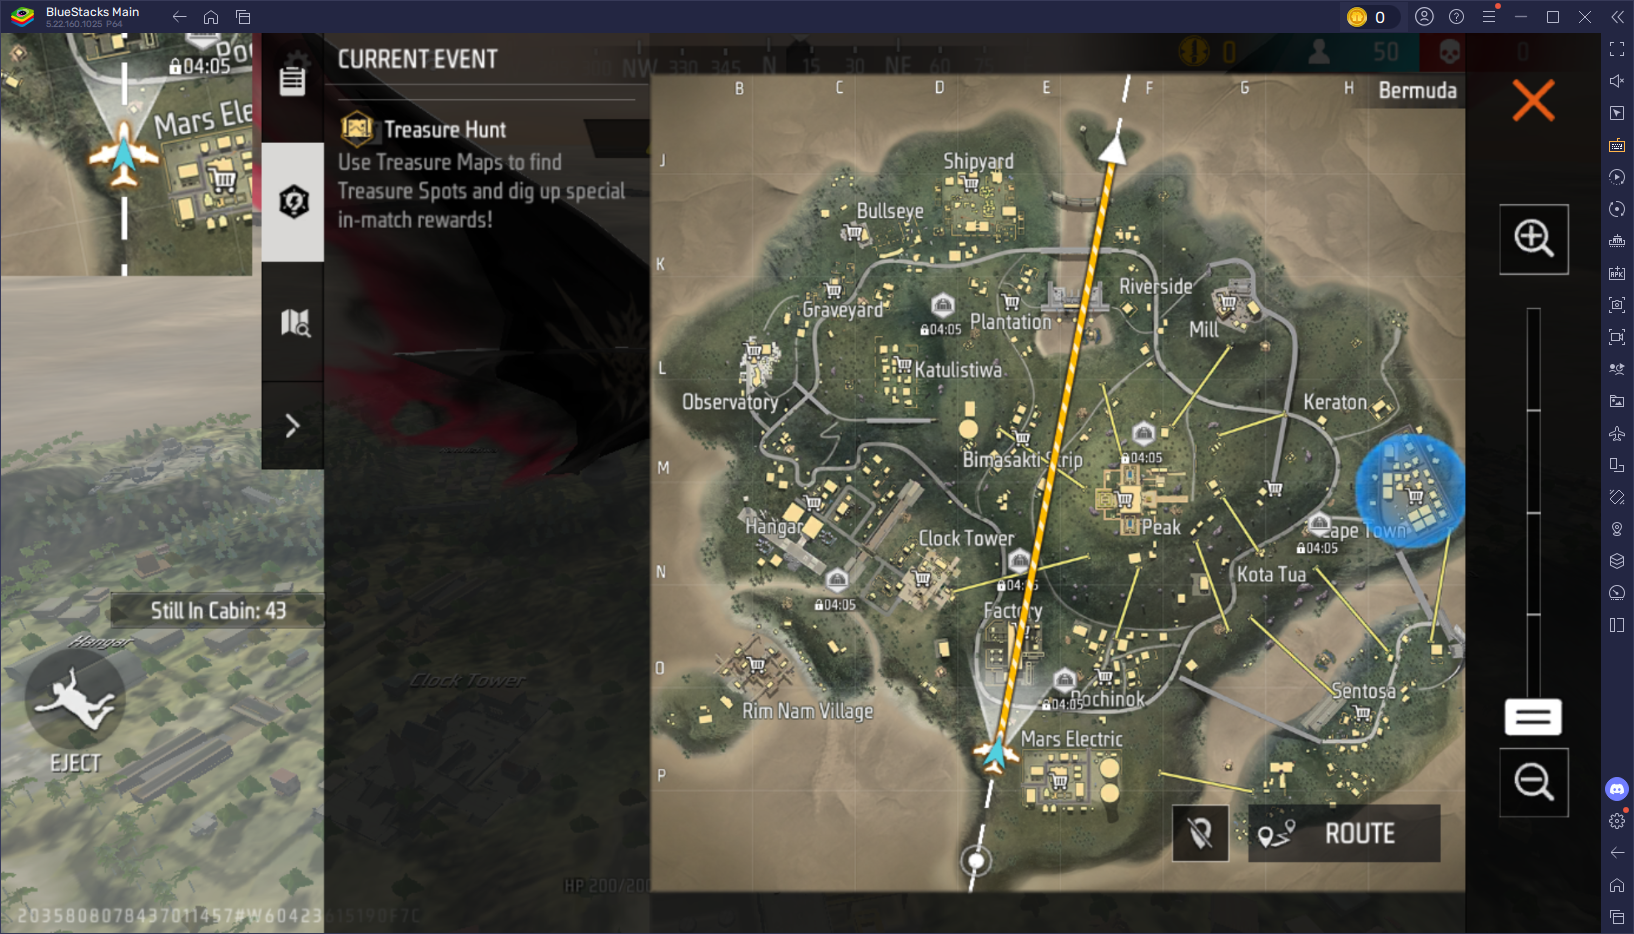
The key zones you need to know are Peak, Clock Tower, Pochinok, Mill, Bimasakti Strip, Factory, Hangar, Shipyard, Cape Town, Sentosa, Katulistiwa, Graveyard, and Mars Electric. Each zone plays differently and rewards a different approach.
Because the map is small and rotations are tight, your landing choice shapes your entire match. Pick the right zone for your playstyle, and you immediately have an advantage over players who just drop wherever the plane flies.
How to Choose Your Landing Spot
Your playstyle should decide where you land, not habit.
If you want early fights, high loot, and do not mind dying fast, drop in the central and high-traffic zones. These are Peak, Clock Tower, Pochinok, and Bimasakti Strip. These spots have the best gear but also the most competition.
If you want solid loot with manageable early fights, go for mid-tier zones like Mill, Shipyard, Hangar, or Factory. You will still get good weapons, but without the instant three-way gunfight that central drops bring.
If you are focused on surviving deep into the match, land in outer-ring spots like Cape Town, Katulistiwa, Sentosa, or Graveyard. Traffic is lower, loot is lighter, but you get time to gear up and rotate on your terms.
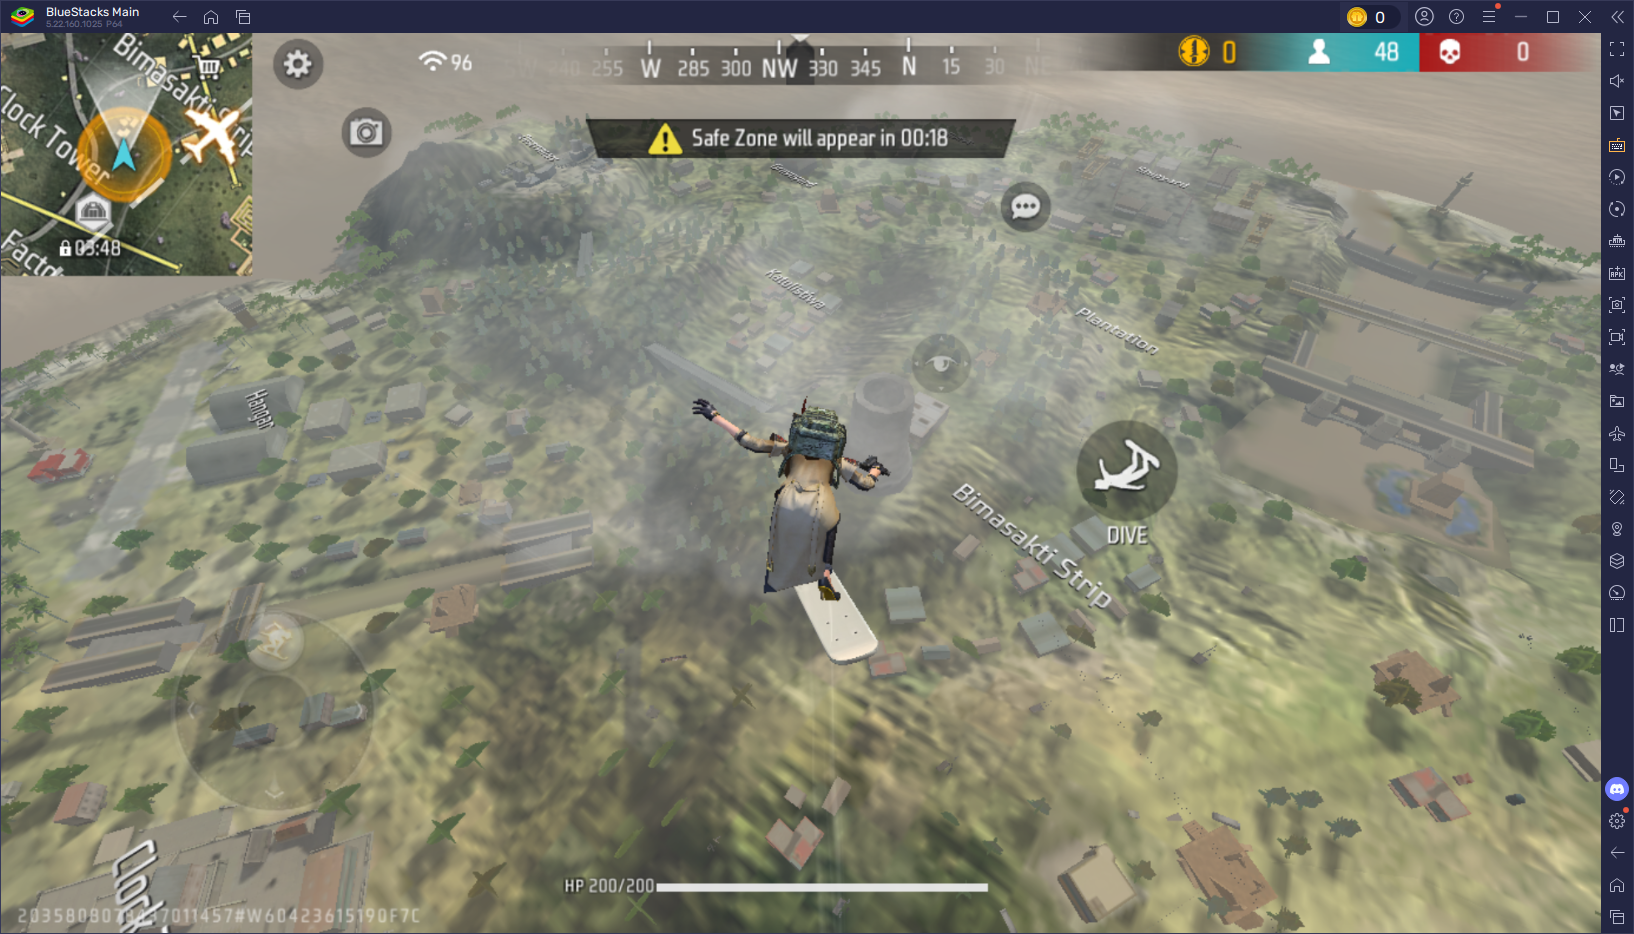
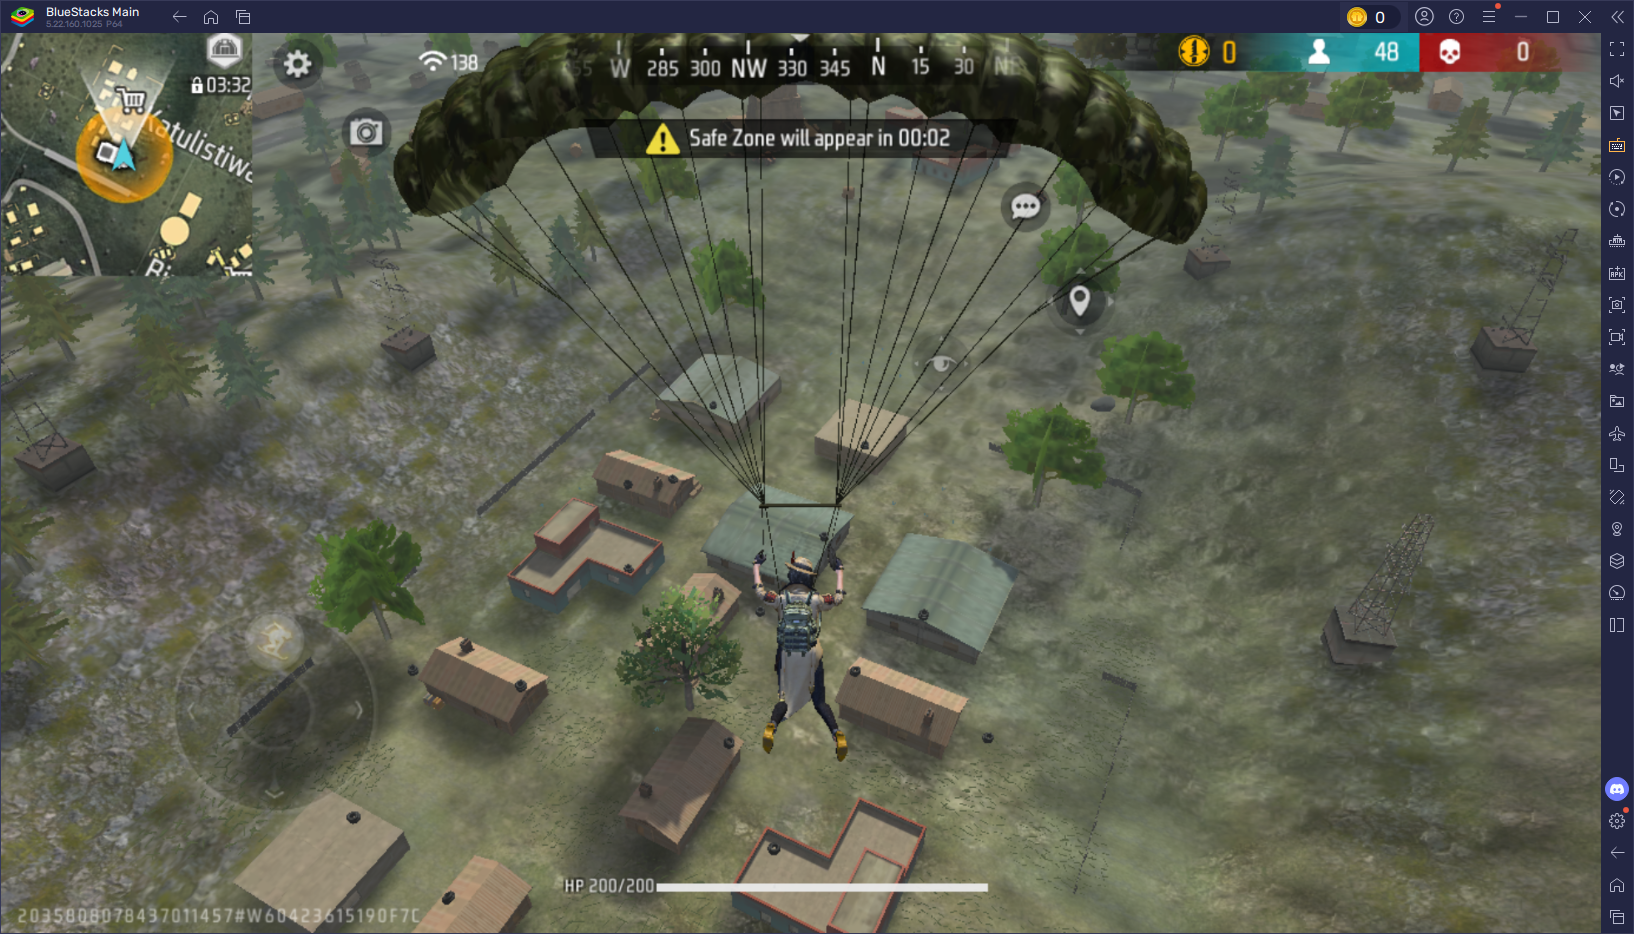
Always check the flight path before you jump. If the plane flies directly over Pochinok, expect heavy competition there. Dropping slightly to the side of a hot zone often gives you the same loot with half the enemies.
Best High-Loot Spots on Bermuda
Pochinok
Pochinok is the most popular landing spot on the map and for good reason. It sits near the centre of Bermuda and is packed with residential houses, garages, and narrow alleys full of loot crates. You will find strong weapons and gear here consistently.
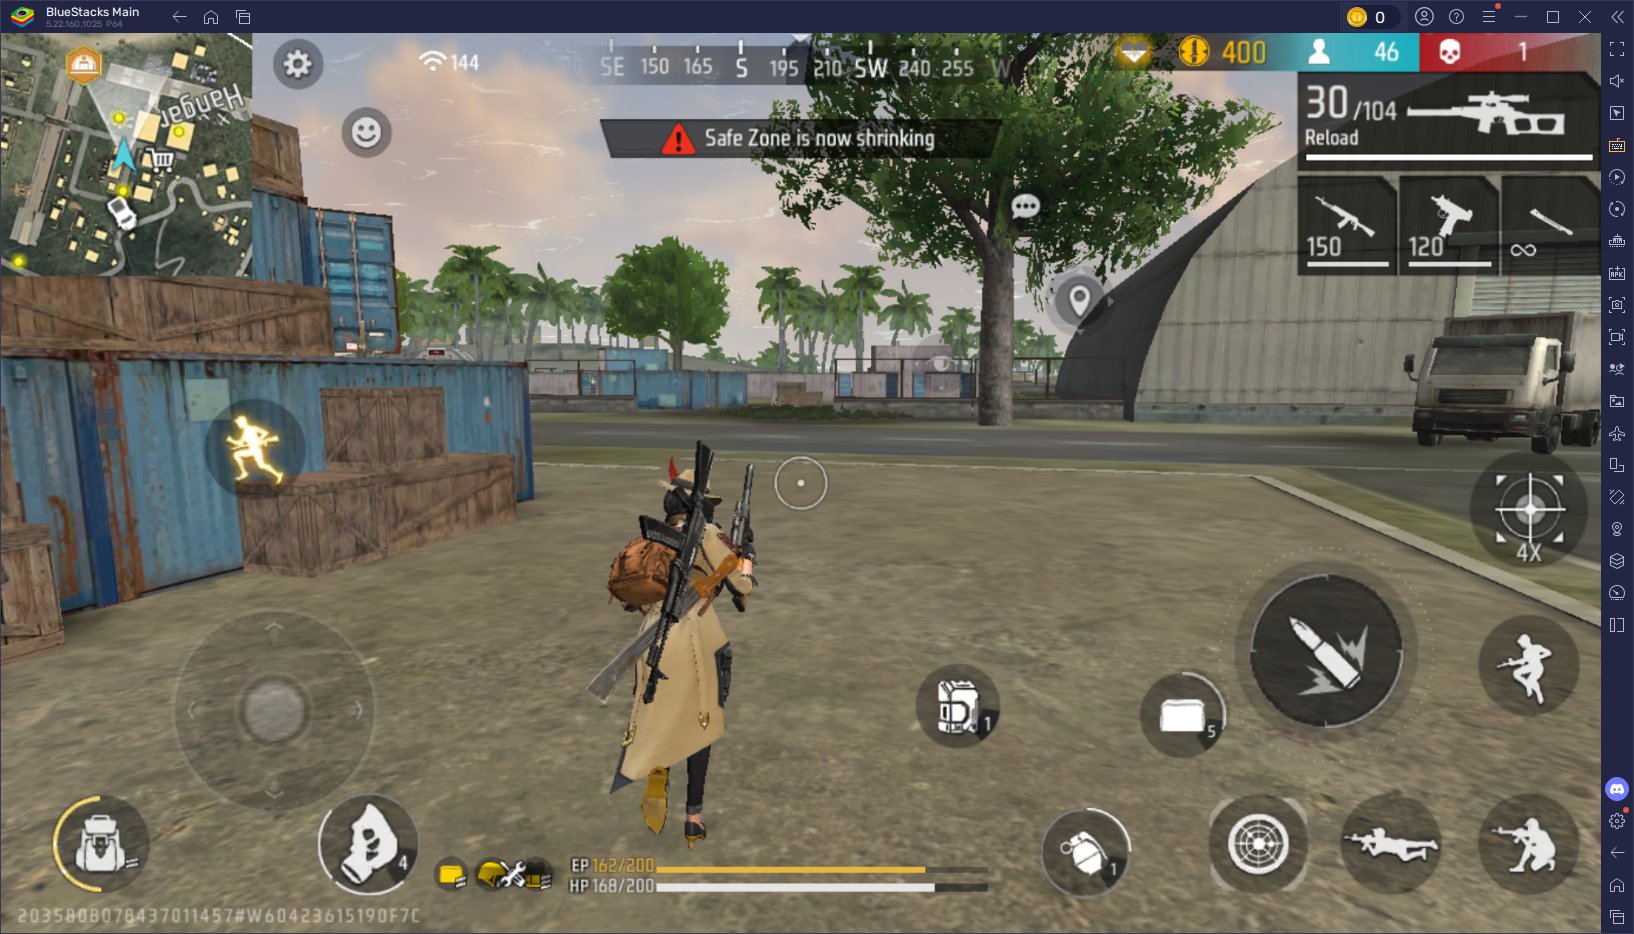
The layout creates constant close-range fights. Clear rooms fast and stick to corners. Grenades and shotguns perform best here. Watch for enemies pushing from multiple directions between buildings because Pochinok punishes players who stand still.
Bimasakti Strip
Bimasakti Strip is one of the highest loot density zones on Bermuda. The long stretch of buildings lets you loot quickly, but the layout also creates a trap. Enemies can push you from both ends of the strip and cut off your escape.
Loot one side of the strip and immediately position yourself in a building that gives you sight of the main entry points. Do not run through the open centre unless you know where your enemies are.
Mill
Mill sits on the northeast side of the map and offers strong loot density across its warehouses and surrounding structures. It consistently produces solid weapons and armour for full squads.
The containers and walls give you plenty of cover immediately after landing. Use them. Fights at Mill are often mid-range exchanges between structures, so an AR or SMG works well here. Do not stand in the open for more than a second.
Clock Tower
Clock Tower is one of the most famous landing spots in Free Fire and a favourite for aggressive players and experienced ranked grinders. It has good loot quality and sits in a central position that connects to Bimasakti, Factory, and Katulistiwa.
Land directly on the clock tower roof to grab weapons before others reach ground level. Once you have your loadout, rotate toward the nearest safe zone edge quickly. Players who loot and linger here get caught in mid-game crossfire from every direction.
Shipyard
Shipyard on the north side of the map is a smaller zone that consistently spawns top-tier gear. You can find high-quality weapons and Level 3 armour here regularly.
Because it is a compact zone, fights are fast, and players land on top of each other. Loot quickly and get out. Do not stay longer than two minutes.
Safer Loot Spots for Survival-First Players
Cape Town and Graveyard
Cape Town and Graveyard are among the least crowded zones on Bermuda. Both offer enough basic gear to get you through the early game without the chaos of a hot drop.
After looting, find a vehicle or surfboard and start rotating toward the safe zone early. Players who land here and delay their rotation often get caught in the open when the zone shrinks.
Sentosa, Katulistiwa, and Outer-Ring Villages
These outer-ring locations are ideal for beginners or for players who want a clean, low-pressure start. Sentosa is an island location with decent defensive structures and solid loot. Katulistiwa is quieter and has a player launcher nearby that lets you reach the Graveyard quickly.
Keep your eye on the minimap as you loot. The main roads on Bermuda are high-traffic routes during mid-game rotations. Avoid them. Cut through terrain and use cover to move without being spotted.
Urban zones are about control and awareness. Never stand in a doorway or window longer than necessary. Every corner in these areas can hide an enemy.
Use crouch movement when clearing rooms and listen for footsteps before pushing. Audio gives you the exact position of enemies in tight buildings. React to what you hear, not just what you see.
High-Ground Zones: Peak and Clock Tower
Elevation is a real advantage in Bermuda. From high ground, you spot enemies before they see you, and you have more angles to work with.
The moment the first zone appears, start planning your rotation down. Do not stay on high ground until you are forced to move. Players who rotate early from Peak and Clock Tower consistently perform better in mid and late game than those who camp until the zone forces them out.
Beach and Open-Field Areas
Open terrain is where most players die unnecessarily. If you are crossing open ground, use a vehicle or surfboard to move fast, or hug the treeline and use natural cover.
Gloo walls are your best tool in open areas. Carry at least three to five at all times. Place one the moment you take fire in an open field and use it to buy time to reposition. Do not peek without a gloo wall ready.
Rotation and Ring Positioning Strategy on Bermuda
Bermuda is compact, which means the zone shrinks fast and punishes late rotations hard. Your first rotation should begin before you are fully looted, not after.
Always have two possible routes to the safe zone in mind. One should run through the cover and buildings. The other should be a backup route through open terrain with gloo walls ready. Relying on a single path leaves you vulnerable when enemies are already positioned along it.
Avoid main roads during mid-game. These are predictable and heavily watched. Players who cut through terrain and use side paths survive longer and arrive at better positions.
When it comes to ring positioning, the edge of the safe zone beats the centre in most situations. Playing the edge means enemies can only come from one direction in front of you. Playing centre means you are surrounded. Move into the zone and hug one edge from the moment you rotate in.
Pro-Style Tips for Ranked and Clash Squad
In ranked matches, role clarity matters. If you are the squad rusher, drop in Pochinok, Peak, or Mill and make your early kills count. These zones give you the weapons and position to dominate the first circle.
If you are playing a support or flex role, use mid-tier zones like Sentosa or Hangar. You loot steadily, avoid unnecessary early fights, and arrive in the mid-game with full gear and HP.
In Clash Squad, Clock Tower, and Mill are the strongest picks. Their layouts create natural chokepoints that aggressive teams can exploit with grenades and Gloo walls. Secure the high ground in these zones and let enemies come to you.
Common Mistakes Players Make on Bermuda
The most common mistake is dropping in the hottest spot with no clear plan. Pochinok and Bimasakti Strip punish aimless players immediately. Before you drop, know where you are landing, which building you are going to first, and which direction you will rotate if the fight goes wrong.
The second mistake is staying in the open when the zone closes. Bermuda’s small size makes this more dangerous than on any other map. If the ring is moving and you are not, you are already behind. Stay ahead of the zone, not inside it.
The third mistake is ignoring audio. In Bermuda’s tight urban zones, footsteps and gunfire tell you exactly what is happening around you. Players who use headphones and react to what they hear win fights before they even start.
FAQ: Bermuda Map Questions Players Actually Ask
Is Peak still the best loot spot in Bermuda?
Peak has good loot and a central location, but its open terrain makes it one of the riskier drops on the map. Pochinok, Bimasakti Strip, and Mill consistently produce better loot with more manageable fight conditions.
Where should beginners land in Bermuda?
Beginners should start with Cape Town, Katulistiwa, or Mars Electric. These zones are low-traffic, give you time to loot without pressure, and teach you how to play the zone safely before you move into more aggressive spots.
Which zones are the safest in Bermuda?
Cape Town and Katulistiwa are the safest landing zones. They see the least player traffic early and still give you enough gear to compete in the mid-game.
How do I rotate safely on Bermuda without getting camped?
Move through cover and avoid main roads. Always start rotating before the zone forces you to. Check the minimap constantly and use terrain breaks like hills, treelines, and buildings to stay hidden during rotation.
Zone
Loot Tier
Risk Level
Best For
Pochinok
High
High
Aggressive players who want early action
Bimasakti Strip
High
High
Fast looters comfortable with multi-direction fights
Mill
High
Medium-High
Squads who want strong loot with some cover
Clock Tower
High
High
Experienced ranked and Clash Squad players
Shipyard
High
High
Players who loot fast and rotate immediately
Factory
Medium-High
Medium
Balanced players who want steady fights
Hangar
Medium
Medium
Support roles and balanced playstyles
Pick your zone from this guide, commit to your landing, and start climbing the Bermuda leaderboard.
Want to Dominate Every Match on Bermuda?
ZPBattleZone publishes in-depth Free Fire guides, tier lists, and ranked strategies every week. Whether you are climbing from Bronze or grinding for Grandmaster, we break down exactly what works and what does not.