Your Squad Keeps Losing in Clash Squad. This Is Exactly Why.
April 19, 2026
10 min read
Clash Squad is Free Fire’s most competitive mode and the fastest way to sharpen your gunplay. It is a 4v4, round-based format where the first team to win four rounds takes the match. No scavenging, no zone rotations, just pure aim, coordination, and smart buying.
This guide covers everything you need to win more rounds, pick the right characters, build effective loadouts, and push your Clash Squad rank efficiently. Every section is built around the current meta, so what you read here is what actually works right now.
What Is Clash Squad and How Does It Work?
Each Clash Squad match is a best-of-seven series. The team that wins four rounds first wins the match. Every round starts fresh with no respawns mid-round unless a character skill specifically enables a self-revive. One knock earns one point, and eliminating the full enemy squad ends the round immediately.
Compete on ZP Battle Zone
Apply what you just learned
Join 35,000+ Pakistani players competing in live Free Fire tournaments every week. Verified results, fair play, organized competition.
At the start of each round, both teams enter a buy phase. You spend coins to purchase weapons, utilities, and equipment. Coins carry over between rounds, which means your buying decisions in round one affect what you can afford in round five. Spending everything early is one of the most common reasons teams lose their economic advantage late in the match.
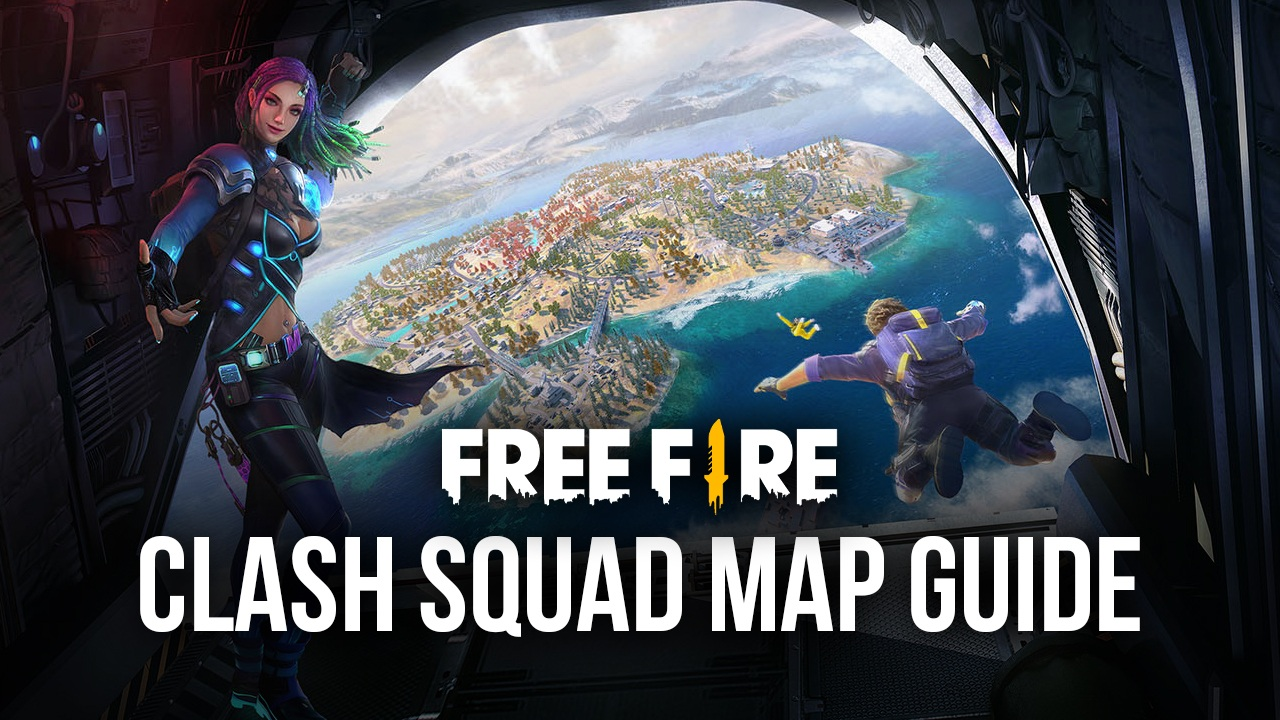
The maps used in Clash Squad are purpose-built for close to mid-range combat. They are compact, high in vertical angles, and designed to create constant engagement rather than long rotations.
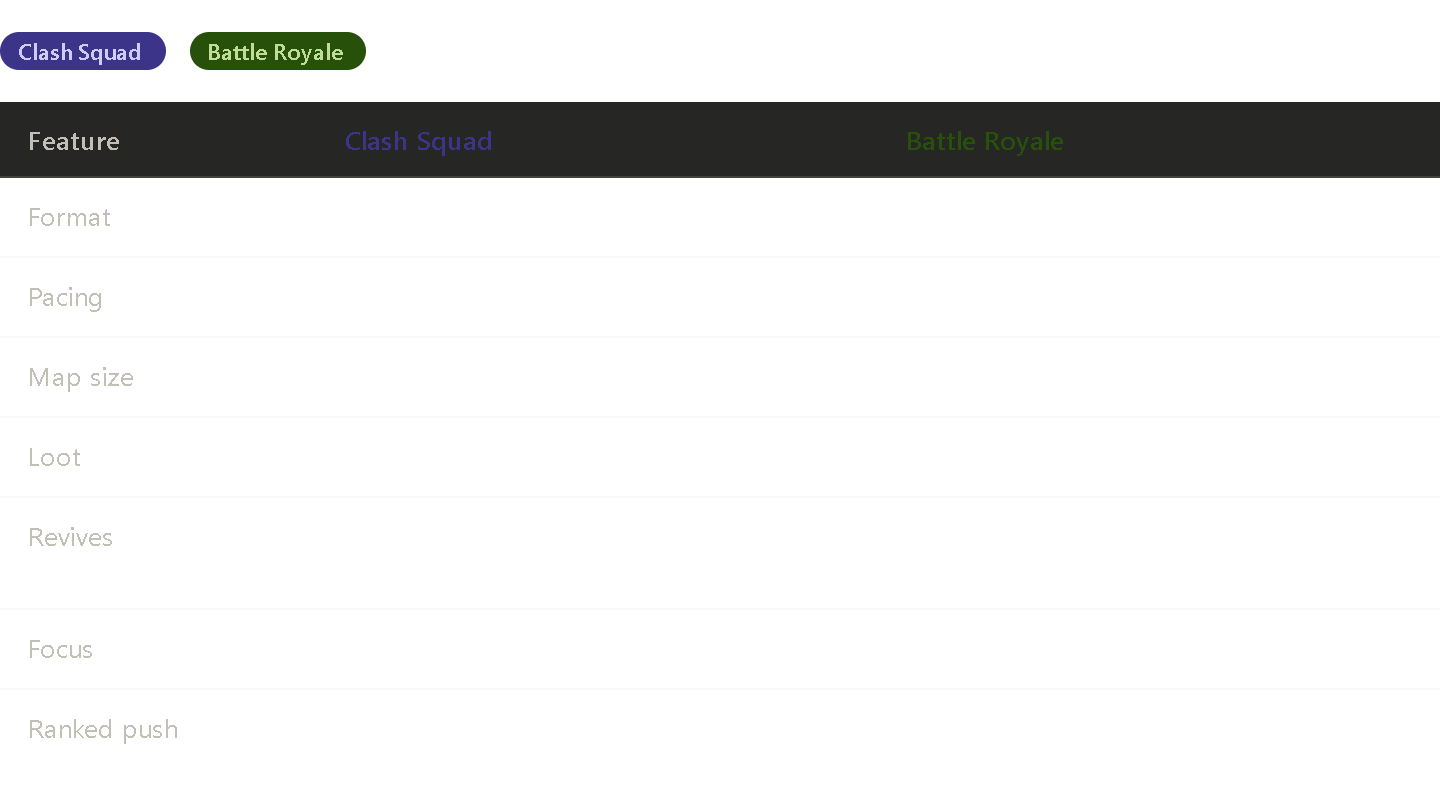
Clash Squad vs. Battle Royale: Why They Require Completely Different Skills
Most players who struggle in Clash Squad are running their Battle Royale habits in a mode that punishes them. Understanding what makes Clash Squad different is the first step to performing better in it.
Clash Squad rewards aim for precision and team coordination above everything else. There is no zone to save you, no scavenged armor to compensate for bad positioning, and no revive point to bail out a risky push. Every decision is immediate, and its consequences show up within seconds.
Map Awareness and Positioning in Clash Squad
Clash Squad maps are built around three lanes: left flank, center, and right flank. Most teams default to the center early. The players who consistently win rounds are the ones who understand when to hold the center, when to push a flank, and when to fall back and crossfire.
High ground is the most reliable positional advantage in every Clash Squad map. Towers, elevated platforms, and second-floor windows give you a downward angle that enemies behind cover cannot easily return. Holding high ground with an AR while your entry rushers push the flanks is the standard setup for organized squads.
Never hold the same angle two rounds in a row against a team that is paying attention. Good Clash Squad players anticipate pre-aimed angles. Move between rounds, vary your approach, and force the enemy to re-read your position every time.
Best Characters and Skill Combos for Clash Squad
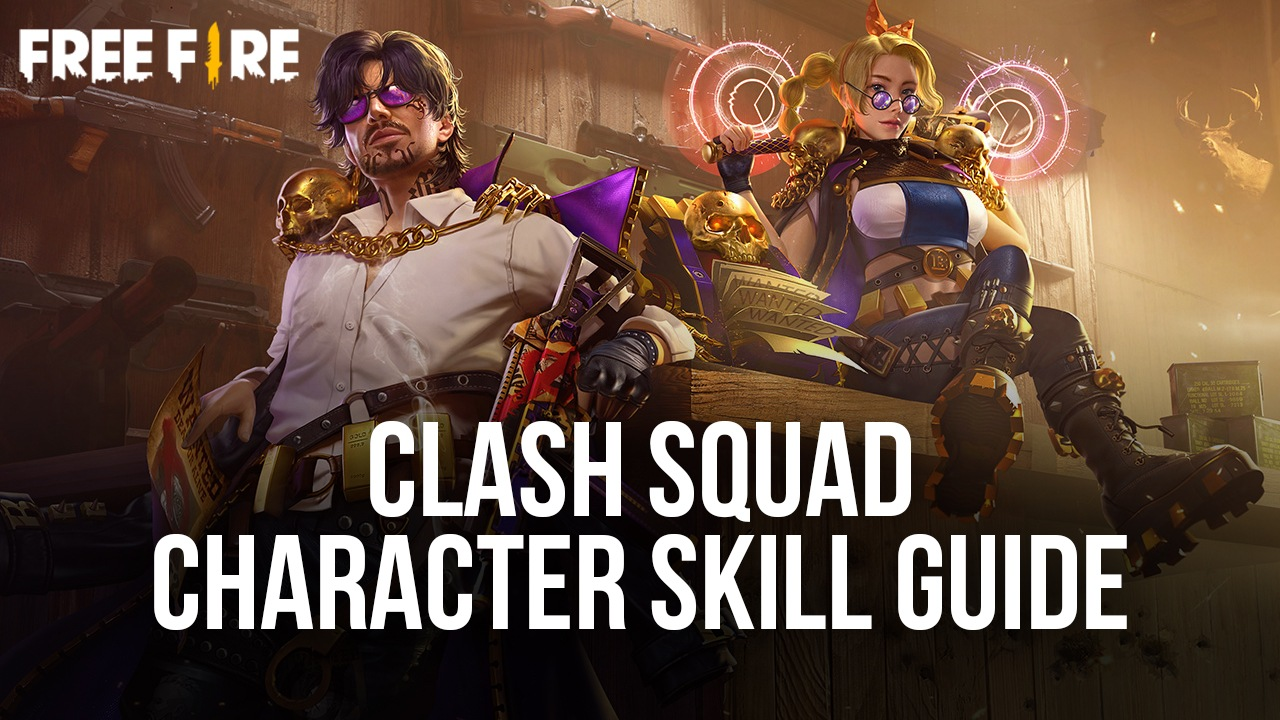
Character selection in Clash Squad matters more than in Battle Royale because every round is short, and your character’s ability can swing it entirely. Prioritize aggressive and utility-focused abilities over passive survivability. Characters that give you information, movement speed, or immediate combat advantage win more rounds than characters built for long-term sustain.
Well-rounded combo: Clu, D-Bee, Maro, Otho
Best for squads that want to cover every situation. Clu detects crouching enemies, D-Bee improves accuracy while moving, Maro deals bonus damage to marked targets, and Otho shares enemy positions after eliminations. Offense, information, and adaptability in one lineup.
Rush combo: Wukong, Jota, Miguel, Nikita
Built for overwhelming speed. Wukong enables stealth approaches, Jota heals on shotgun kills, Miguel recovers EP on eliminations, and Nikita reloads SMGs faster. Run this when you want to end rounds by forcing the fight on your terms.
Headshot combo: Moco, Skyler, Wolfrahh, D-Bee
For squads with confident aim. Moco tags enemies on hit, Skyler destroys Gloo Walls, Wolfrahh increases damage to the last surviving enemy, and D-Bee maintains accuracy while moving. Punishes defensive players and rewards disciplined aim.
Flank combo: Otho, Luna, Wukong, Kelly
The flank specialist setup. Otho shares enemy positions on elimination, Luna improves stealth movement, Wukong enables disguised approaches, and Kelly gives a sprint speed burst. Use this to split enemy attention while your squad pressures from the front.
Best Weapons and Loadouts for Clash Squad
Clash Squad fights happen at short to mid-range distances almost exclusively. The standard setup is one SMG or shotgun for close quarters and one AR for mid-range angles. Never run two ARs and expect to win building fights.
Entry rush loadout
MP40 or M1887 as your primary, backed by the M1873 for close-quarters. The MP40 dominates narrow corridors with its fire rate. The M1887 delivers the highest burst damage at close range and ends fights before enemies react. Pair with a movement-focused character combo.
Mid-range flex loadout
AK-47, M4A1, or SCAR as your primary. The AK-47 hits harder per shot, the M4A1 is more forgiving on recoil, and the SCAR sits between both. Pick based on your recoil control. Always add a close-range secondary for fights that collapse inward.
Sniper and softener role
AWM or Woodpecker for your designated long-range player. The sniper opens rounds by weakening or eliminating one enemy before the main push. Only effective when your team coordinates the push immediately after the opening shot.
Roles Every Clash Squad Team Needs
Random squads lose because everyone tries to do everything. Organized squads win because each player knows their job before the round starts.
▸Entry rusher: first through doors, runs MP40 or M1887, creates chaos in enemy positions, and opens space for teammates. High risk, highest impact when executed correctly.
▸Support and utility: carries Gloo Walls, flashbangs, and smokes. Covers the entry rusher, blocks sightlines, and handles mid-round revives when character skills allow.
▸Anchor and shot-caller: holds angles with an AR, calls enemy positions, and controls the pace of the round. This player decides when to push and when to hold.
▸Sniper and opener: softens enemies from distance before the main push. Most effective when timed with the entry rusher’s movement.
Economy Management: The Skill Most Players Overlook
Coin management is what separates disciplined Clash Squad players from players who lose winnable rounds. Spending your full coin pool every round feels safe, but it leaves you with nothing if you lose two rounds in a row. Entering a round with a budget weapon against a fully-equipped team is one of the hardest positions to recover from.
When your team wins a round comfortably, spend normally. When you lose a round, consider saving coins rather than buying full equipment and entering the next round underfunded. A coordinated team running an economy buy can beat a team that spent everything because the discipline shows in their positioning and patience.
Assign utility buys before the match. Decide which player buys flashbangs and smokes each round. When everyone buys their own utility, teams end up unbalanced. One designated utility player keeps your loadout consistent every round.
Common Mistakes That Are Costing You Rounds
▸Holding the same spot every round. Enemies pre-aim it by round three. Vary your position every round, even when the first angle worked.
▸Maxing your weapon buy every round regardless of coin balance. Going into debt forces weak buys later when rounds matter most.
▸Pushing alone without covering fire or communication. Solo pushes against organized teams end in one elimination with zero pressure on the enemy.
▸Running Battle Royale character builds in Clash Squad. Healing passives do not translate to two-minute rounds. Switch to CS-specific combos before queuing.
▸Ignoring utility entirely. A single flashbang before a push wins more fights than better aim. Utilities decide rounds at the highest levels of play.
Rank Push Tips for Heroic and Beyond
The fastest way to push your Clash Squad rank is to play with a fixed squad. Random teammates do not know your playstyle, your calls, or your positioning preferences. Every match with randoms is a match where coordination starts from zero.
Adapt your weapon purchases based on what the enemy is running. If they rush with SMGs every round, hold mid-range angles with your AR and let them come to unfavorable distances. If they anchor with snipers, buy flashes, and push aggressively to close the distance before they can fire comfortably.
Do not re-peek immediately after losing a fight. Taking a second hit right after going low is how rounds collapse from two-on-four to one-on-four in under ten seconds. Fall back, recover with a character skill if available, and re-engage on your terms.
Track the round score and adjust your aggression accordingly. When you are ahead three rounds to one, playing conservatively to close out the match is smarter than forcing unnecessary fights. When you are down, that is when controlled aggression is needed, not random, desperate pushes.
Study your eliminations and deaths after every match. Free Fire shows you where each death happened and who eliminated you. Two or three matches of reviewing this data tells you exactly which angles are costing you rounds and which positions are earning you the most kills.
Save This Before Your Next Ranked Session
Before the match
▸Confirm your squad has all four roles covered: entry, support, anchor, and sniper.
▸Switch your character build to a Clash Squad combo, not your BR setup.
▸Assign one player as the utility buyer for flashbangs and smokes.
▸Agree on your opening lane before the round starts.
During the match
▸Buy according to your coin balance. Save when you lose. Spend when you are ahead.
▸Rotate with your team, not alone. Solo pushes lose rounds.
▸Use high ground and crossfires whenever the map allows it.
▸Call enemy positions out loud. Information wins more rounds than aim.
▸Never re-peek immediately after going low. Recover first, then re-engage.
After the match
▸Review where you died each round. Identify the angle that cost you the most.
▸If you lost economic control, discuss which rounds to save in the next session.
▸If the enemy combo counters yours, adjust your character picks before the next match.
You Have the Guide. Now Go Win the Rounds.
Clash Squad rewards players who understand the mode, not just players with fast aim. Economy discipline, role clarity, character combos built for short rounds, and position variation are what actually separate the teams at Heroic from the teams stuck below it.
Apply one section of this guide per session. Spend one session on the economy. The next role. The next on character combos. Trying to change everything at once creates confusion, not improvement. Build it systematically, and the rank follows.
ZP Battle Zone covers Clash Squad meta updates, character tier shifts, and weapon-tier lists as the game evolves. Bookmark this guide and check back whenever a new patch changes how the mode plays.
What rank are you pushing in Clash Squad right now? Share your squad setup below. Someone reading this is looking for exactly the combo you are running.